Remove Ribbon from SharePoint InfoPath List Form

When working with InfoPath List Forms in SharePoint the Ribbon can be very useful. Then again, it takes up a lot of screen real estate and if you don't like the icons or want to change the buttons on offer, then you're stuck.
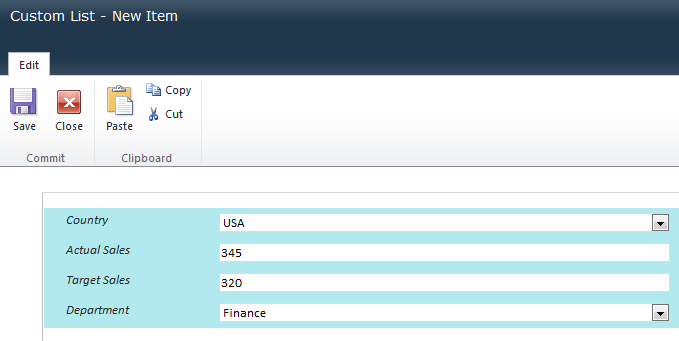
If you want to get rid of the ribbon and add your own buttons it's not too difficult. I should mention though that there's an easy way and a hard way of removing the Ribbon. Hard (but useful) way detailed here and the easy way detailed here. First off, see my InfoPath form below. That ribbon needs to go.
As mentioned in previous articles, InfoPath forms are hosted on web part pages. If you get into the edit view of the page the form lives in you can do interesting things. To do this, right click on the InfoPath form and select Properties. You'll be able to select the URL of the underlying page as shown;
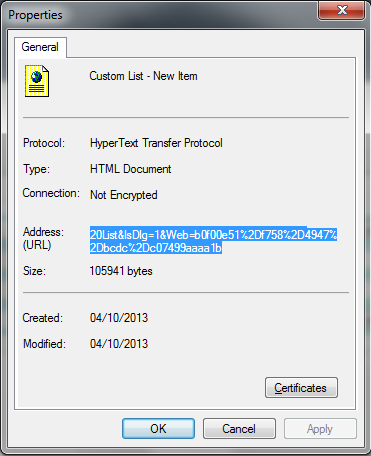
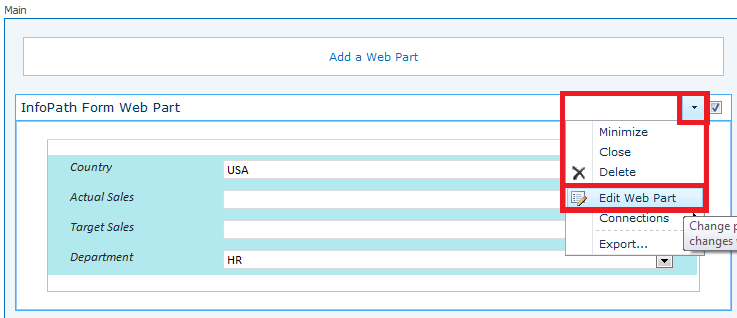
Paste the URL from above into a new window. Remember to remove the IsDlg=1 parameter from the end of the URL to view the page properly. Now we find ourselves on a web part page, which we can edit like any other page. Here we see the InfoPath Web Part on the page, and we can modify the settings like any other web part;
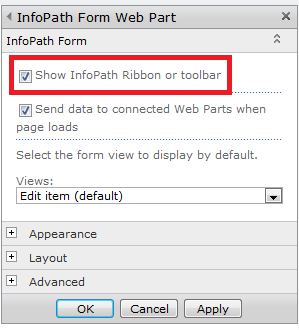
Unticking the box as shown below will get rid of the ribbon;
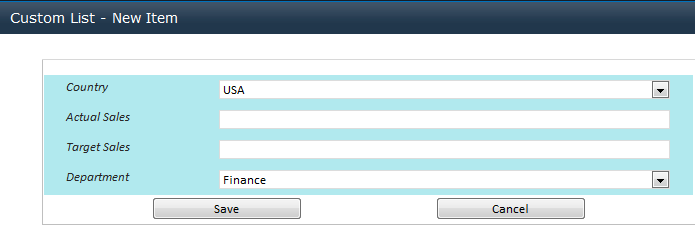
So now our form has no ribbon. We have more space, but it's kinda useless as we can't submit the data we fill in!
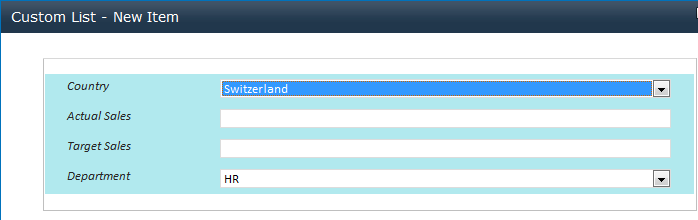
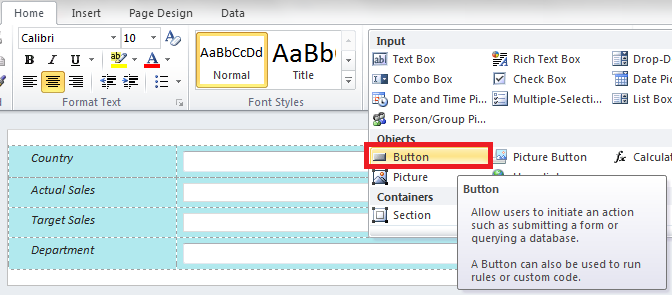
Editing this form in InfoPath Designer I can add my own buttons to the form as shown;
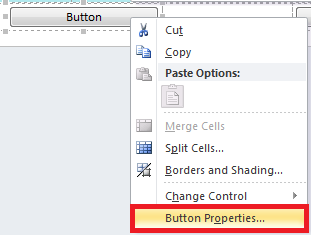
I can change the text of the buttons and other properties by right clicking them and selecting Button Properties;
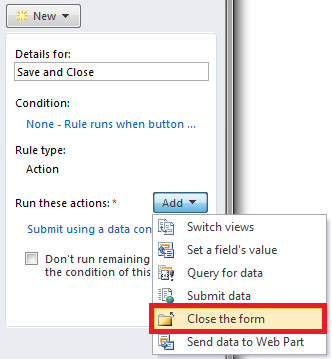
Next I need to make the button do something. I do this by adding Rules to the button. For the Save Button I want it to submit my form data when clicked;
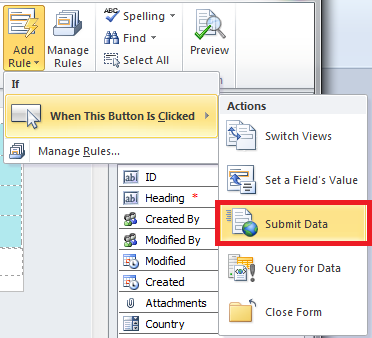
After it submits the data I also need the form to close, just as it would work if I'd clicked a button on the ribbon. I can add another step to close the form as shown;
After adding a step to Close the Form when the Cancel button is clicked, I'm all set with a fully working form.
One little gotcha to look out for is that with the steps above I've only changed my new item form. The Edit and View forms have different URLs so if you want to change this for everything you may have to do it three times. This adds flexibility though as you can achieve quite different things on each form depending on your business requirements. (Have a linked web part on the edit form showing performance for that data graphically, the new item form might then show things differently.)
If the plain buttons don't work for you, try using Picture Buttons instead and using your own graphics. I also wrote a little piece about faking different types of InfoPath buttons here.
Happy SharePointing!